
Requirements
- Be the host of an event
Objective
Sending broadcast messages to your attendees can be a very good way to drive actions from your audience. You can for example define a welcome message, inform about activities going on in other places, promote your sponsors, and forward your attendees to other locations of the event like a specific room or networking area.
If you send a broadcast message, it will reach all attendees, independently of their location in the virtual event (if they are in a room, in a lobby, on the main stage, etc.).
In this guide, we will see all the possible options that this feature enables.
To create a new broadcast message, follow these steps:
- From the left navigation menu within the event, select "broadcast"
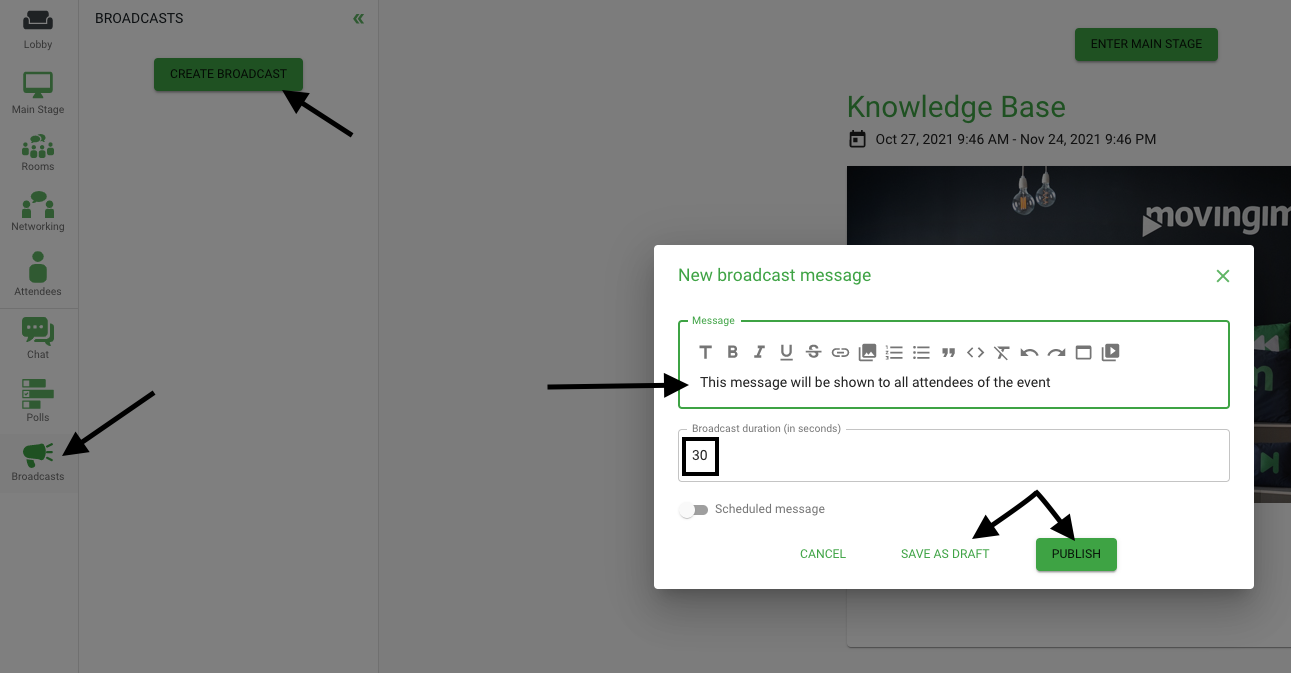
- Click on the "create broadcast" button
- A broadcast message editor pop-up window will appear
Here, it follows four different step-by-step guides, based on what you wish to achieve,
The mini step-by-step guides are shown in this order, just scroll the page to the guide you are interested in:
1. How to send manually a simple broadcast message in real-time
2. How to schedule the sending out of a broadcast message at a specific time
3. How to insert a join button on a broadcast message
4. How to embed a video and/or an image in your message
Step-by-step guide:
1. How to send manually a simple broadcast message in real-time
From the pop-up broadcast editor window
- Insert the message you wish to send to all participants
- Set the duration of the broadcast in seconds (30 seconds by default)
NOTE For important broadcast messages, for which you wish to force the user to read the message and manually close the window and/or that the message will be shown also to attendees that will join at a later time, you can set a very high number (e.g. 100000) on duration.
- Click on the "publish" button to send it in real-time to all participants
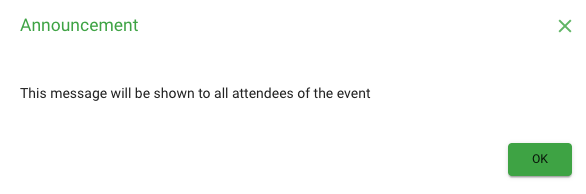
- The message will be shown to all participants, it will disappear after the duration time you have set. Each attendee can manually close the window during this time. If an attendee joins at a later time, when the broadcast message is still active, this will be shown to the user, as soon as they join the event.
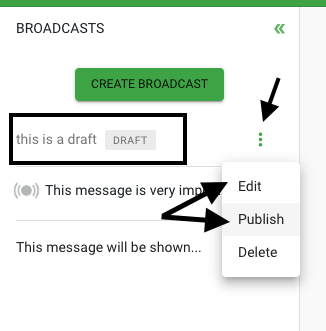
Alternatively, you can save the broadcast message as a draft. To create a draft of a message, in order to have it ready to send at a later time, just prepare your message and click on the "save as draft" button.
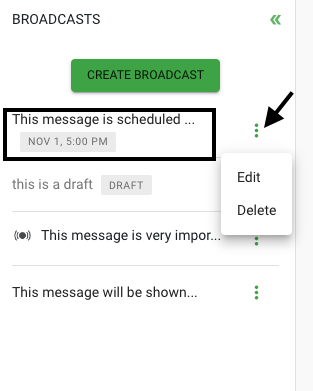
The message will appear in the broadcast list with the label "DRAFT". Click on the three dots to publish it as it is or to edit it and then publish it.
2. How to schedule the sending out of a broadcast message on a specific time
From the pop-up broadcast editor window
- Insert the message you wish to send to all participants.
- Toggle the "Scheduled message" interrupter.
- Set a date and the time when the message should be sent (you can type in the date and the time, or click on the calendar icon to set them through a calendar/clock interface).
- Confirm, by clicking on the "schedule" button.
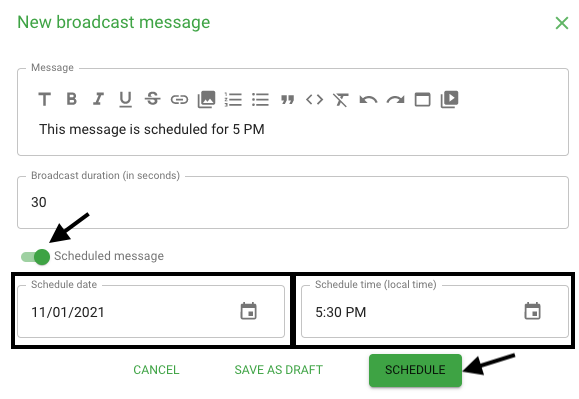
- The scheduled message will appear on the broadcast messages list, marked by a label with its scheduled day and time. Clicking on the corresponding three-dots symbol, you can edit the message or delete it.
3. How to insert a join button on a broadcast message
From the pop-up broadcast editor window
- Insert the message you wish to send to all participants.
- On the buttons-editor bar, select the button icon.
- Insert the text that should be shown on the join button.
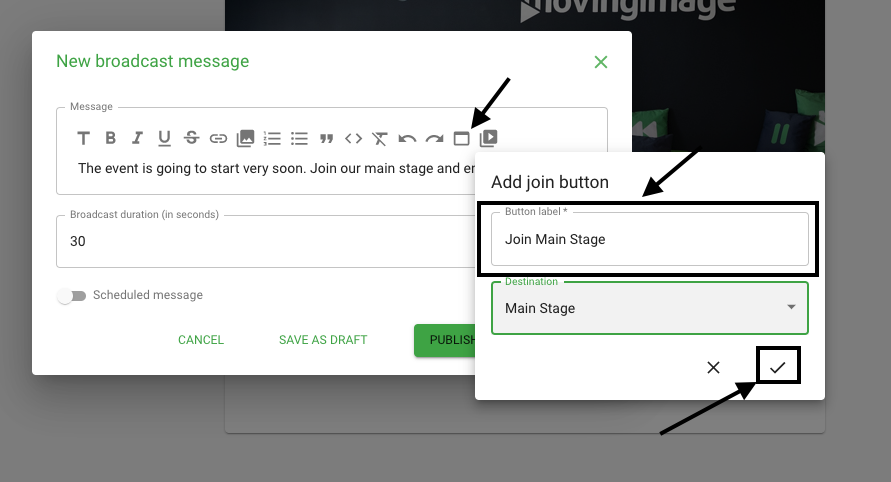
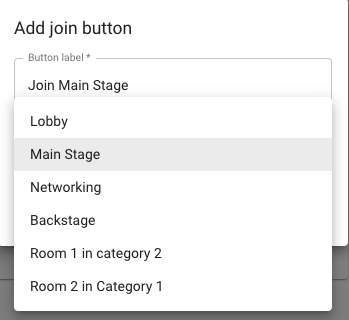
- From the drop-down menu, select the destination, to which this button should bring. You can select any area of the event.
- Confirm the button settings, by clicking on the check symbol
- Publish the message (or schedule it for a later time)
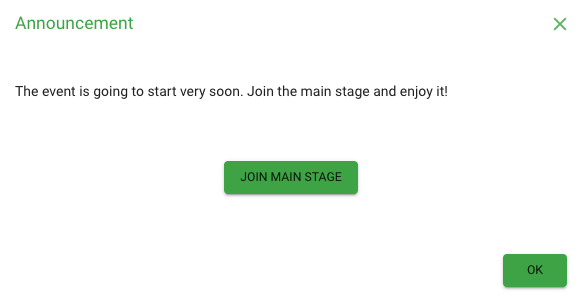
- The button will be shown to the attendee within the broadcast message. The attendee can easily join the selected area, just by clicking the button.
4. How to embed a video and/or an image in your message
From the pop-up broadcast editor window
- Insert the message you wish to send to all participants.
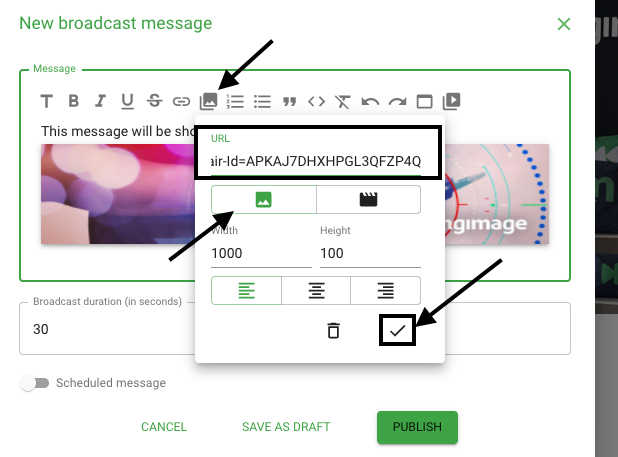
- On the buttons-editor bar, select the media image icon.
- If you wish to insert an image, remain on the image icon (default).
- Insert a public image URL link.
- If you wish, you can set specific width and height, otherwise, the original image dimensions will be taken by default.
- Confirm, by clicking on the check symbol.
- Publish the message (or schedule it for a later time).
Video
From the pop-up broadcast editor window
- Insert the message you wish to send to all participants (optional).
- On the buttons editor bar, select the video icon.
- Insert a video URL, e.g. a preview link from your Video Manager Pro, a YouTube link, etc.
- Insert width and height in pixels of the player, which will contain the video. The default dimensions are 426 px for the width and 240 px for the height.
NOTE If you take the URL from the preview URL of a VideoManager Pro (or also from some third-party products), be careful that this may contain a fixed width for the player. This can interfere with the player in the broadcast message.
e. g. You take this URL from your VideoManager Pro
https://e.video-cdn.net/video?video-id=8dneXwRcuNDKkQERHBY2Hr&player-id=1QqxSWFUV_NX7PRUKAishb&channel-id=91837&width=800.
In this case, just delete the part in red that set a specific width, otherwise, the player, which is smaller but contains a bigger video, will show only a part of the video.

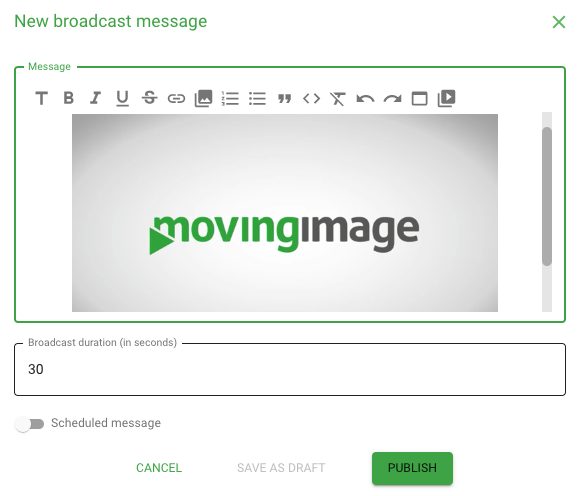
- You will see the preview of the video in the broadcast messages editor, you can also play the video from there.
- Confirm the button setting, by clicking on the check symbol.
- Publish the message (or schedule it for a later time).
Comments
0 comments
Article is closed for comments.