
Requirements
- Be a host of the event OR be an attendee of an event in which all users are allowed to create/edit rooms.
Objective
In every area of the event, you can embed different applications. One popular tool that hosts of workshops and events love to embed is the digital whiteboard Miro. Miro is an online collaborative whiteboard platform that enables more people to create and edit a whiteboard. The tool is especially used for example for collaborative brainstorming, strategy planning, teaching/presenting topics that need visualization, etc.
STEP 1 - COPY URL FROM THE I-FRAME CODE
1. Open a new whiteboard on miro. Click here to go to miro's documentation to know how.
2. Click on the "export" icon on the top left
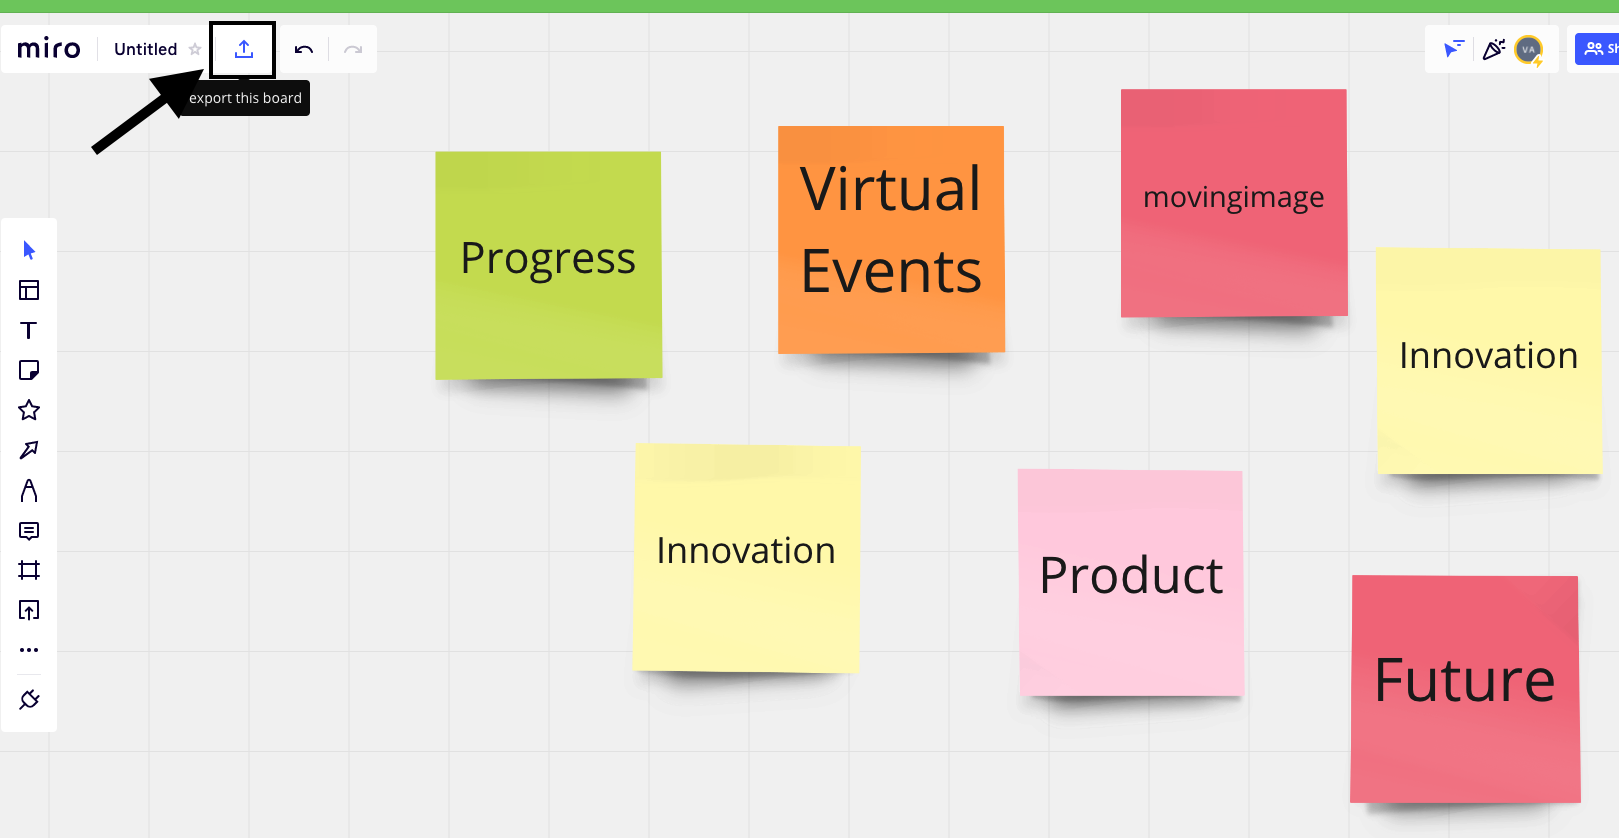
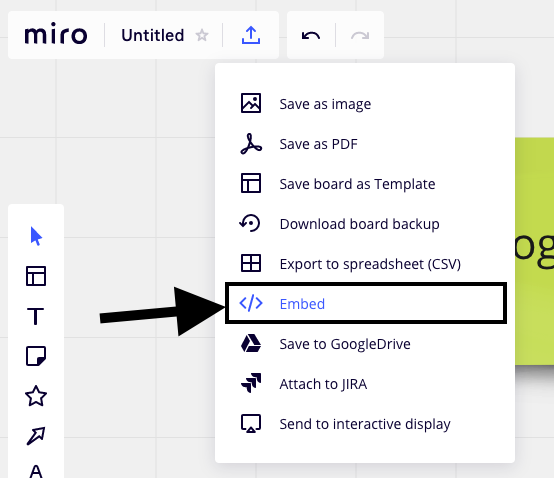
3. Select "Embed" from the drop-down menu
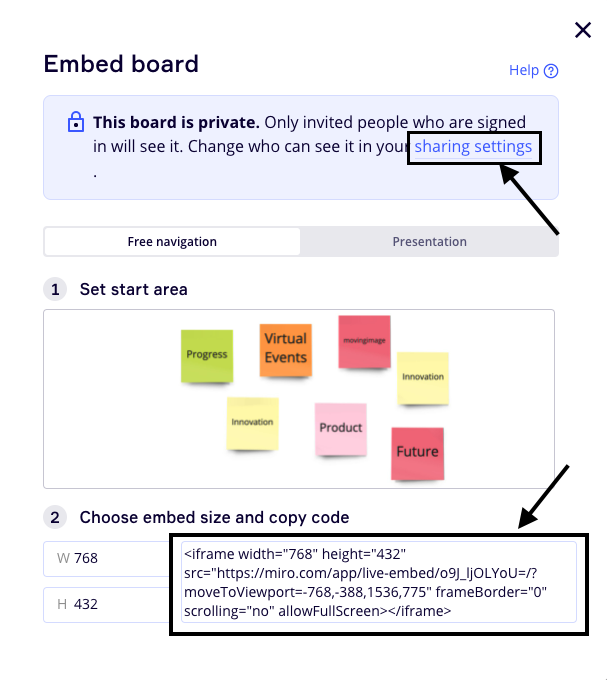
4. Check the accessibility settings of the board. If people outside of your organization need to access it, please make sure that ‘Anyone with the link’ can either view or edit the board.
So, in case you wish to make your board accessible to anybody, you can change the accessibility settings by clicking on the "sharing settings" link.
Click on the iframe code. It will be automatically copied to your clipboard.
6. Paste it on a note editor (or text editor)
7. Copy the URL in the "src" attribute (without quotation marks)

STEP 2 - Embed the miro Whiteboard in a room
Now that you have the link to the whiteboard, you need to embed the app into the room you wish.
1. Log in to your Virtual Event
2. From the left navigation menu, select "rooms"
3. Create a new room or edit an existing one

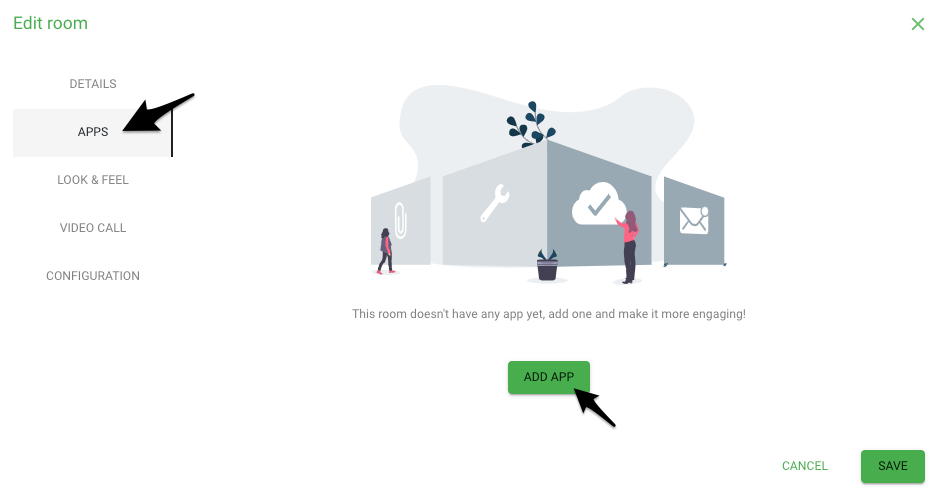
4. From the left navigation bar, select "APPS"
5. Click on "ADD APP" button
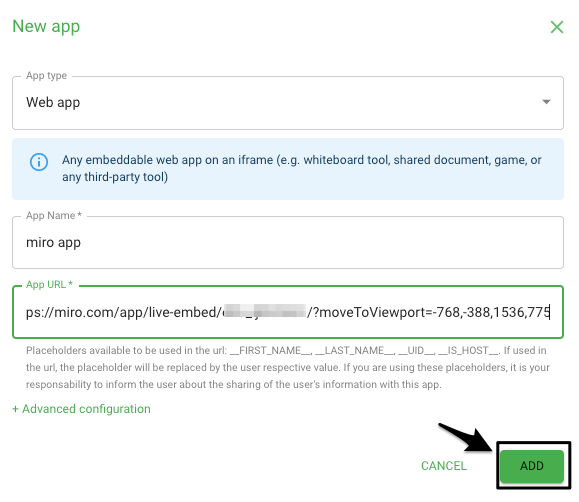
6. Insert the name you wish to give to the miro app and paste the URL you found in the previous step and click on add button.
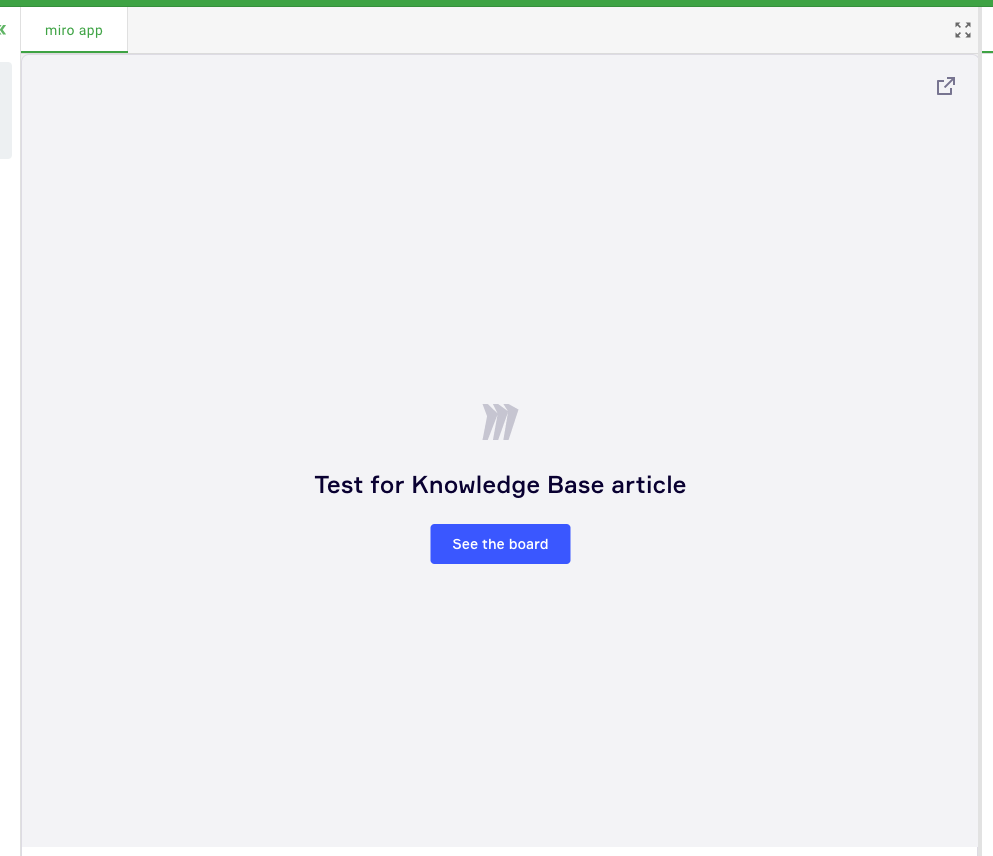
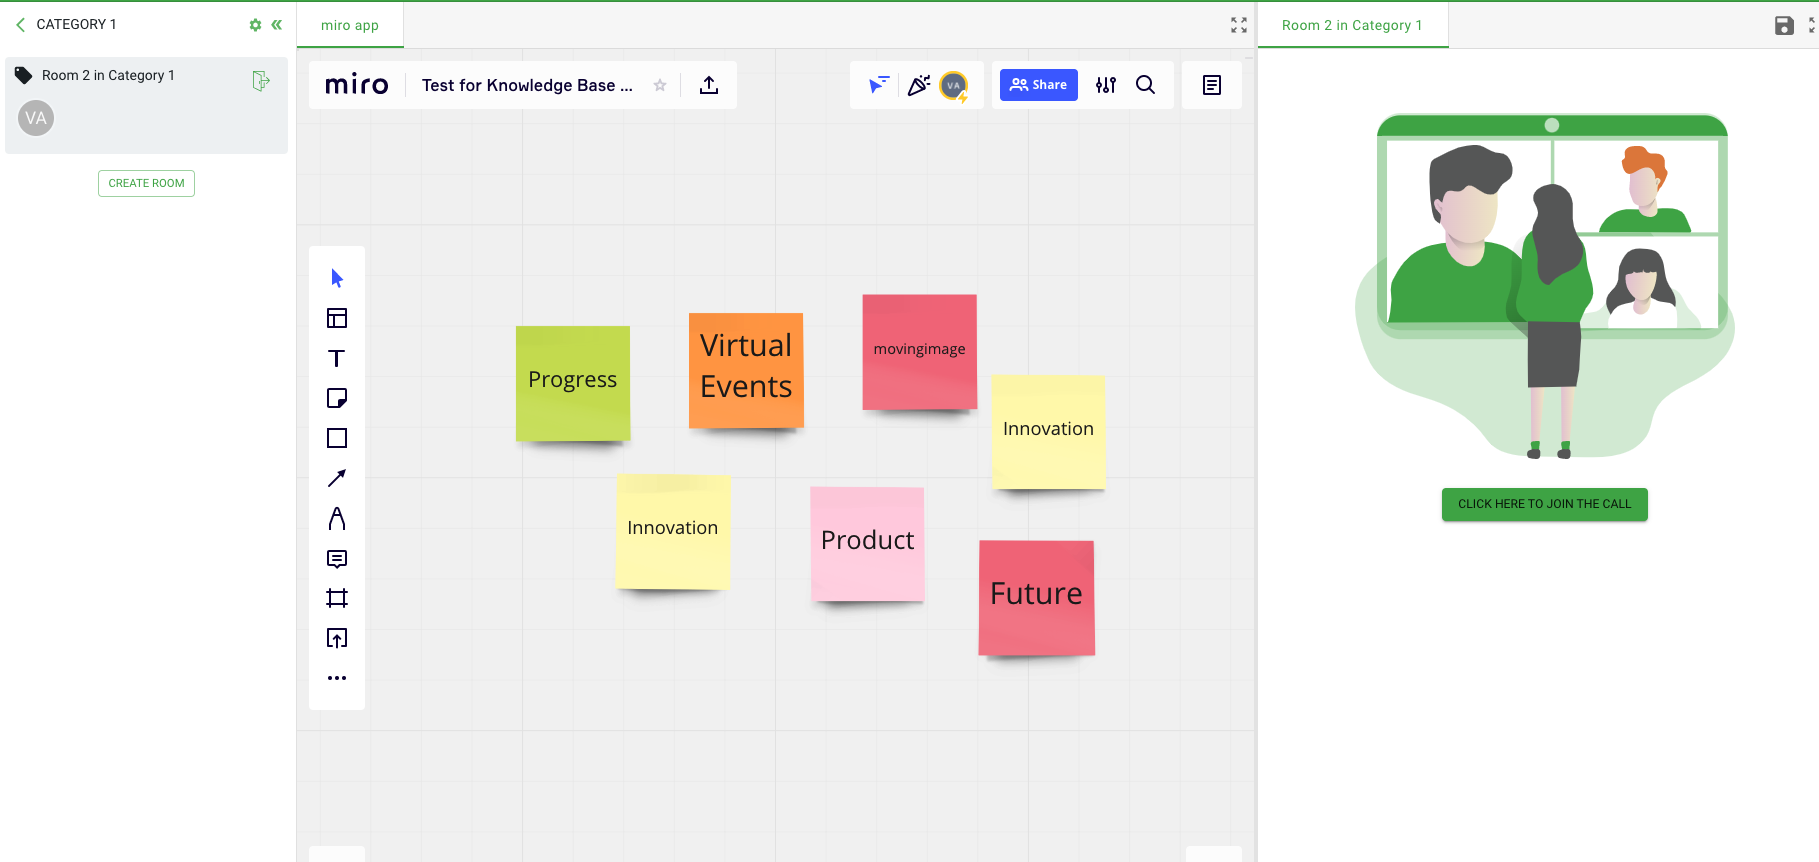
A user joining the room will see a view like the one below. They just have to click on "see the board" to see the board and collaborate with the other attendees
Comments
0 comments
Article is closed for comments.